Whiteboard types
Earlier versions of the app allowed you to create types of whiteboards, but there was really not much difference between
the two types. Version 5.0 differentiates the two:
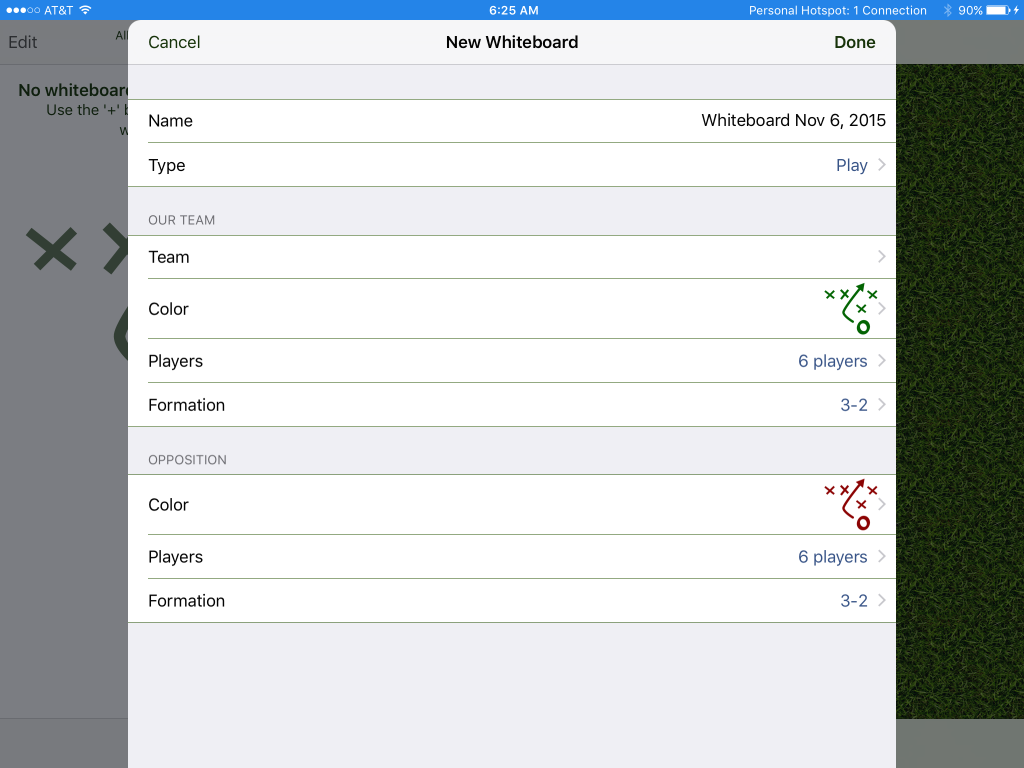
A play type of whiteboard is meant to illustrate something that takes place on the pitch. It includes two sets of players in formation.
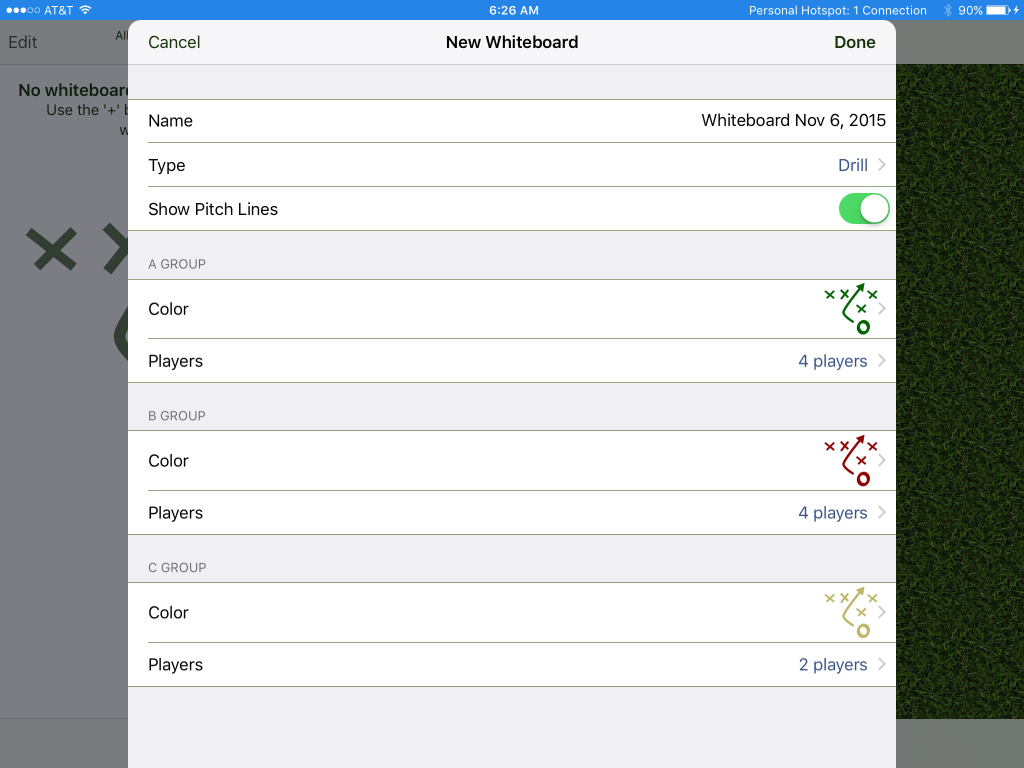
A drill involves up to three groups of players and can optionally include a pitch background.
Whiteboard views
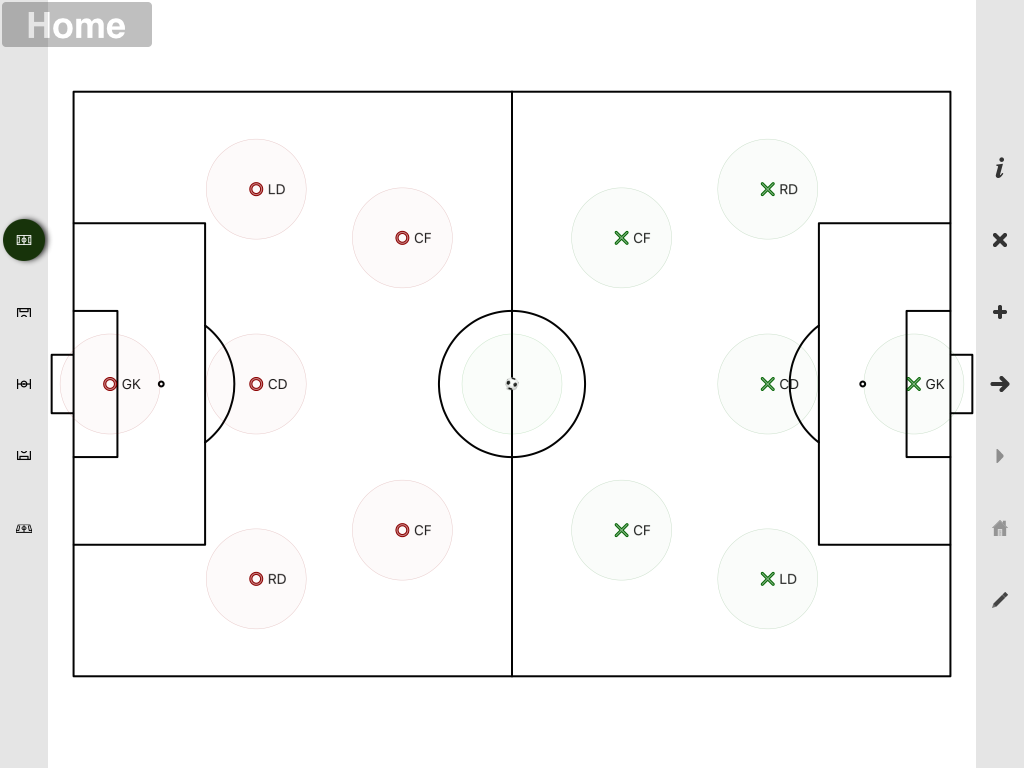
The new whiteboard is much more flexible in the type of views of the pitch you can set up. There are buttons (shown below on the left of the screen
in landscape mode) that allow switching between the views and indicates the current view. Shown below is the full pitch view:
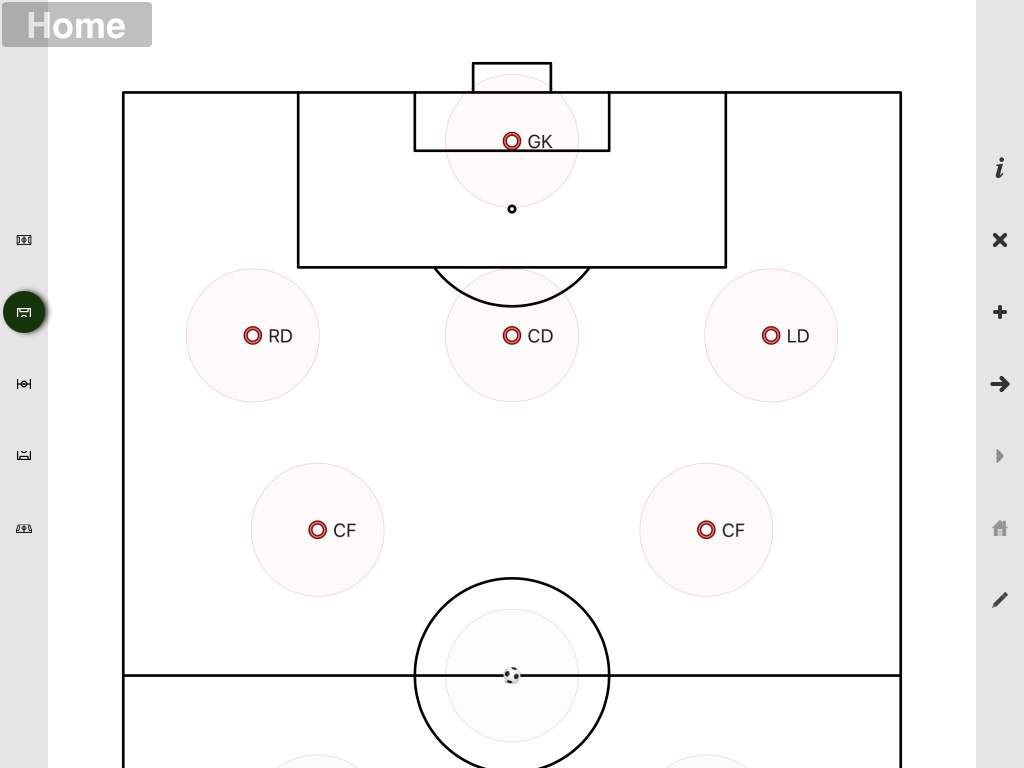
The offense view:
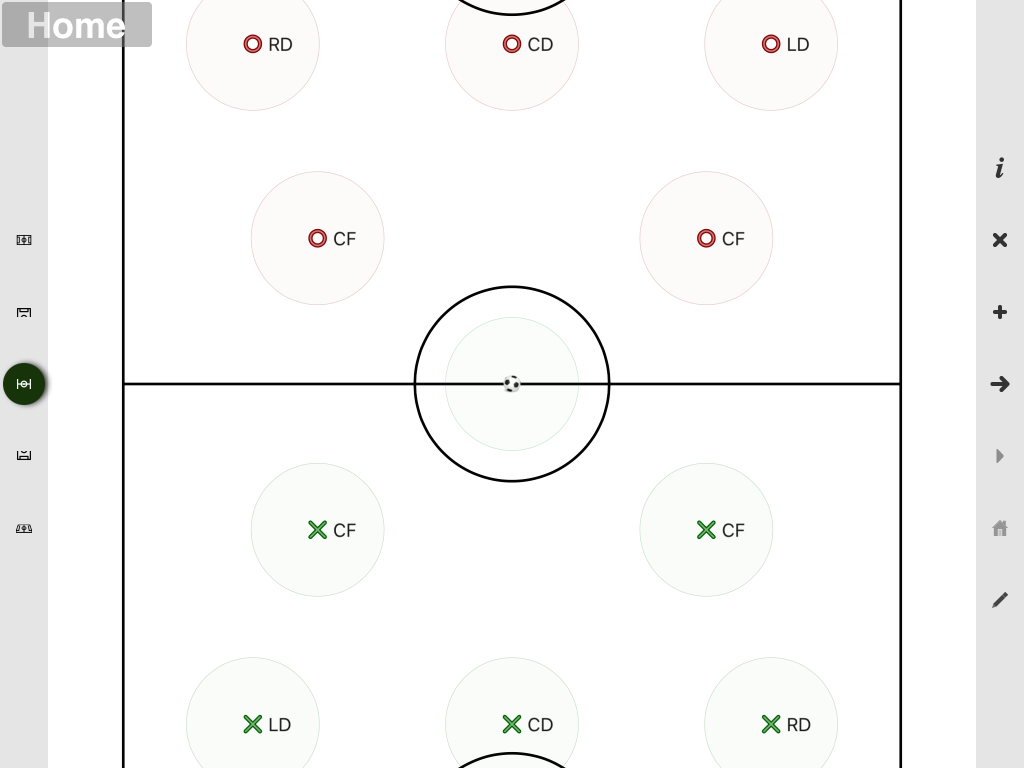
The midfield view:
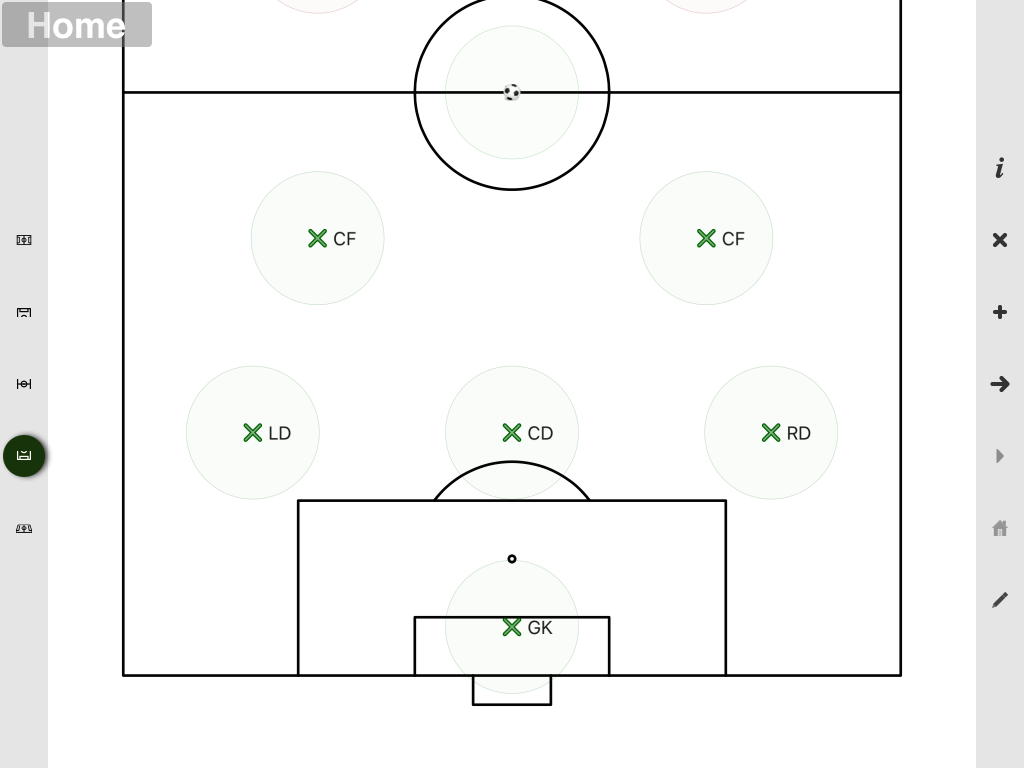
The defense view:
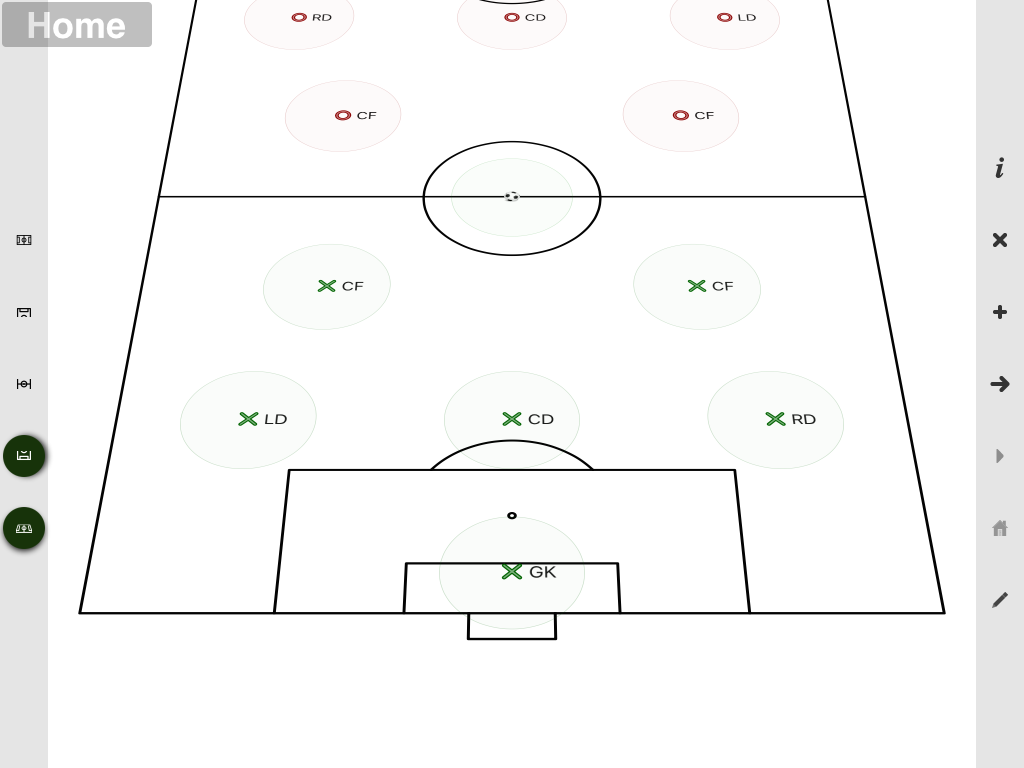
There is also a "perspective" mode that can be toggled on and off.
The view that you set when developing a drill is saved and redisplayed when the drill is played back. The whiteboard will smoothly animate between
the different views.
In addition to the standard views you can also use the standard "pinch to zoom" and "panning" to focus on the precise area of interest:
Whiteboard items
One of the best things about touch devices is the ability to touch the things you want to move and just move them! One of the issues with this with
something like the whiteboard is that the things you want to move are small and once you touch them, you've covered them up and can't see exactly where
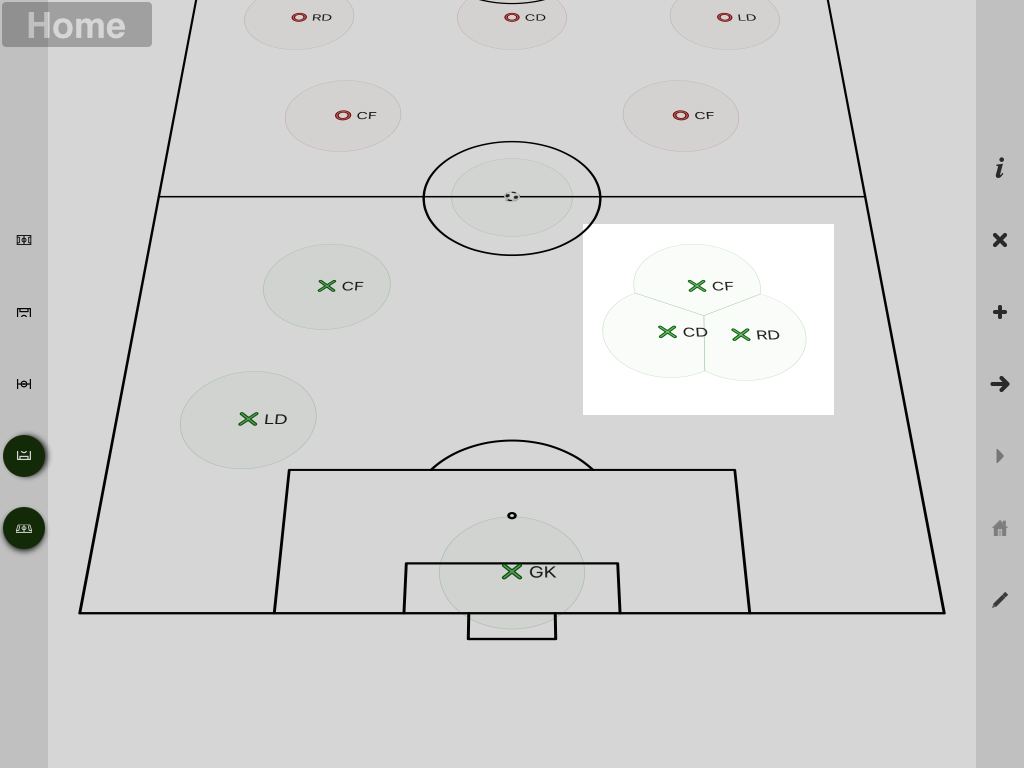
you are moving them. The whiteboard used to draw grey circles around the items to indicate where you could touch and this has been cleaned up in the new
version. They just look better and when items get close, they are drawn intelligently so that you still know where to touch to move each item.
Adding Things
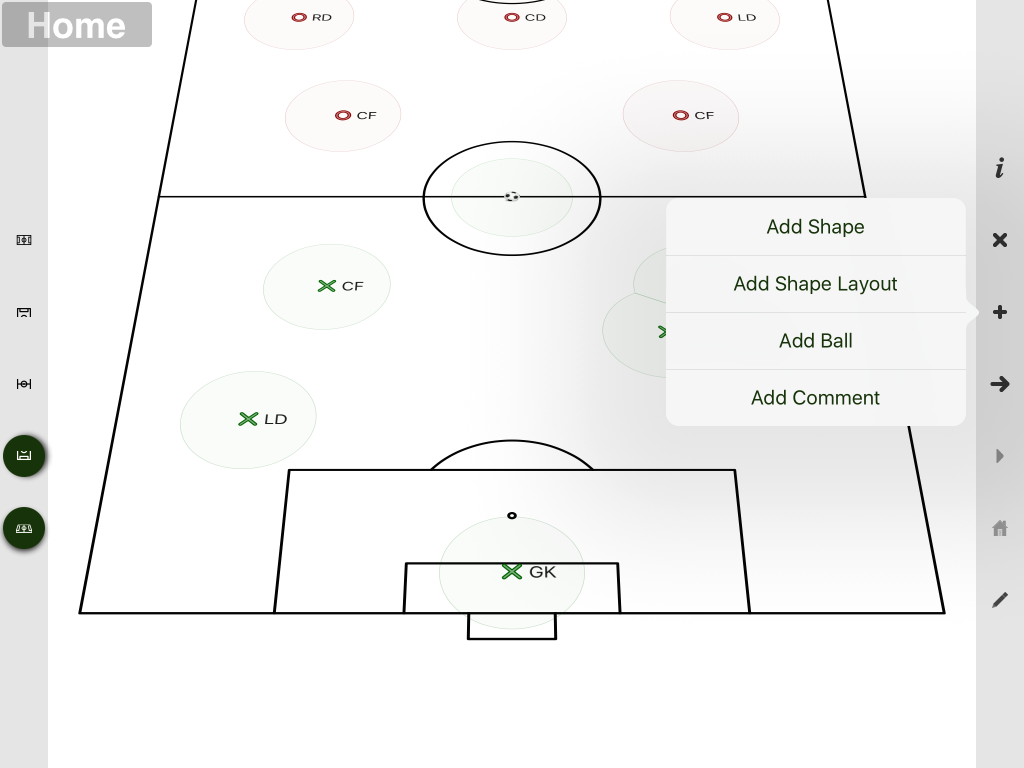
Especially when designing drills, you often want to add other things to the whiteboard (e.g. cones). This is achieved by tapping the '+' button. As you can see
below, you have the option to add an individual shape or what it called a layout (essentially a geometric arrangement of shapes).
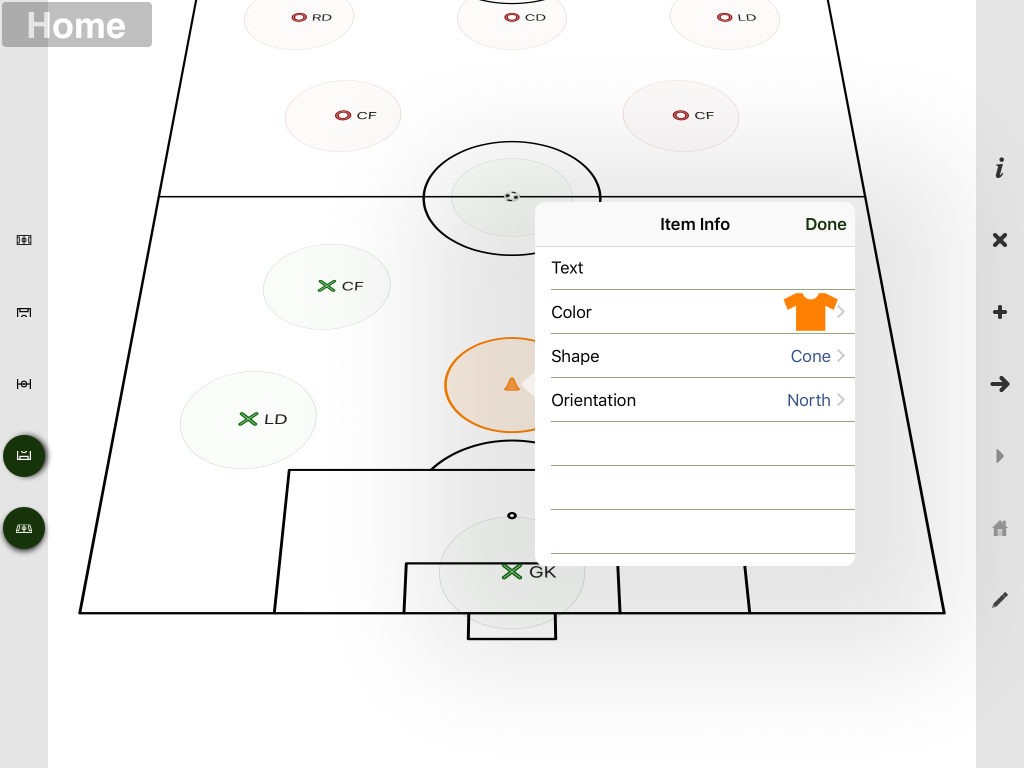
Once you have chosen to add a shape, a popup is shown containing all the properties that can be modified including the text, the shape color.
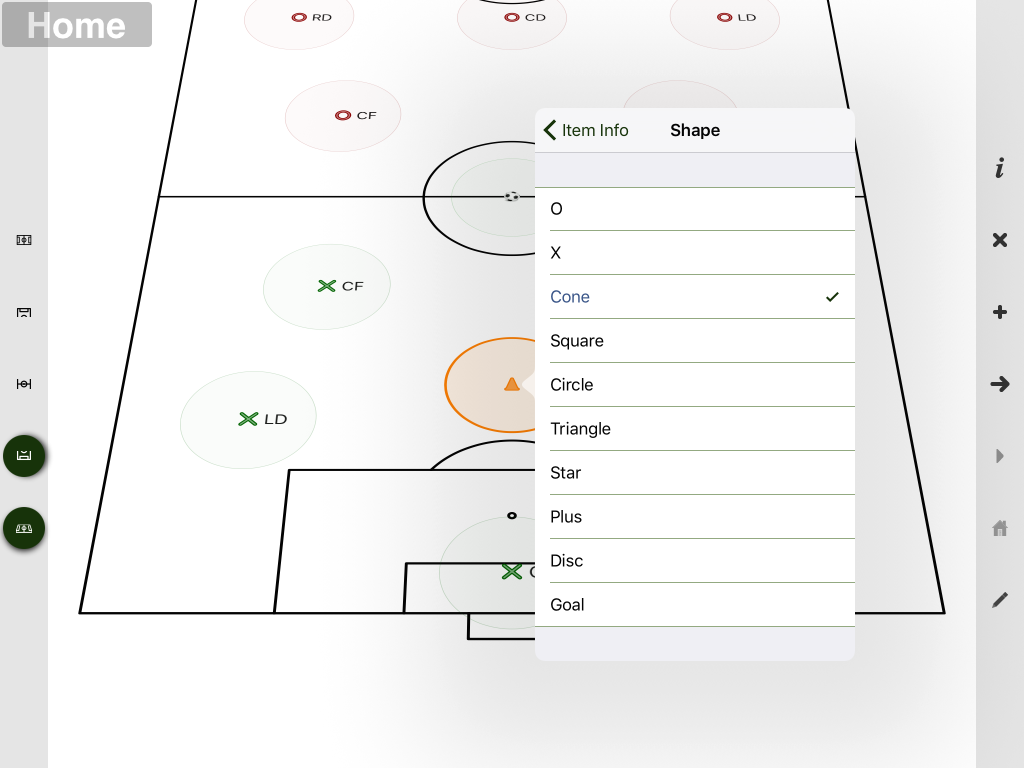
Different standard shapes can be selected.
Also for some shape types (e.g. popup goal) it is important to control the orientation of the shape.
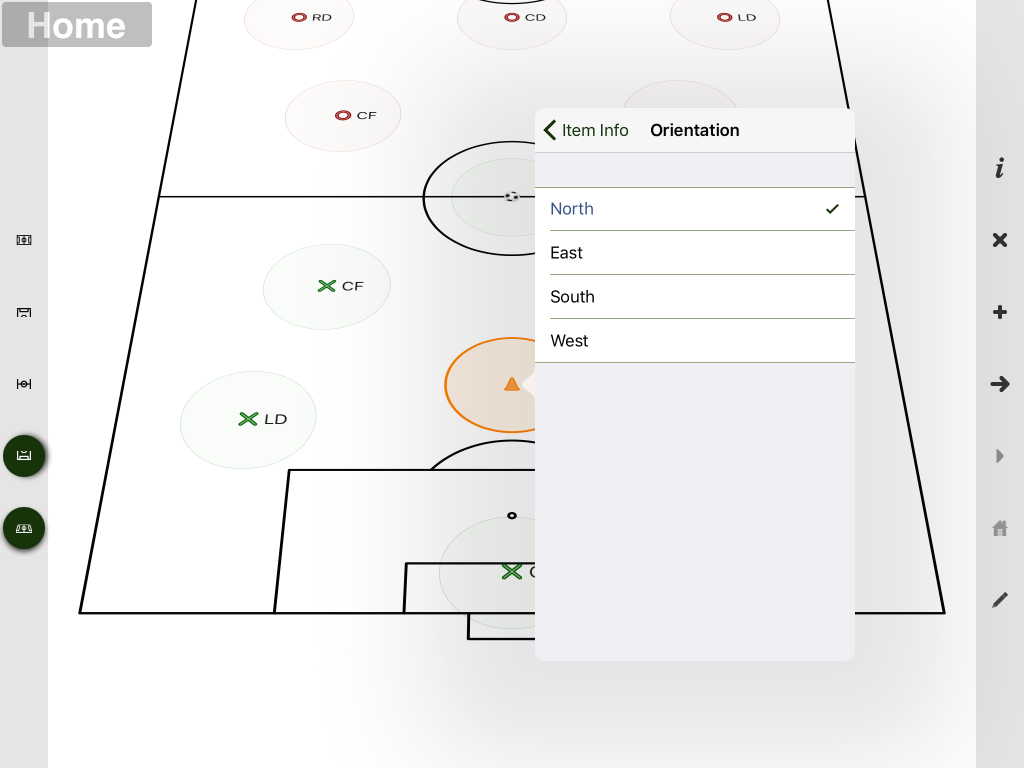
The other classic thing you want to be able to do is set up some type of layout of cones (e.g. a rectangle). Sure you could do the work yourself by adding individual
shapes, but layouts make it much easier. As with individual shapes you can can set the text, the shape color, the shape and the orientation. By default, the layout is
displayed with a shape at each corner.
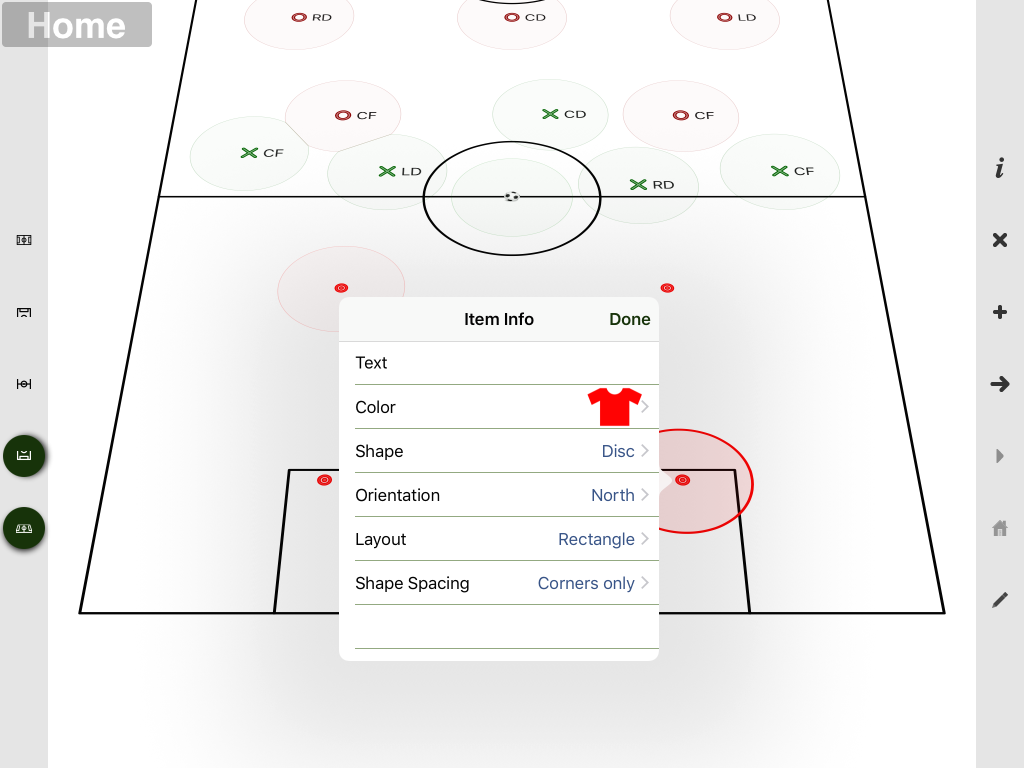
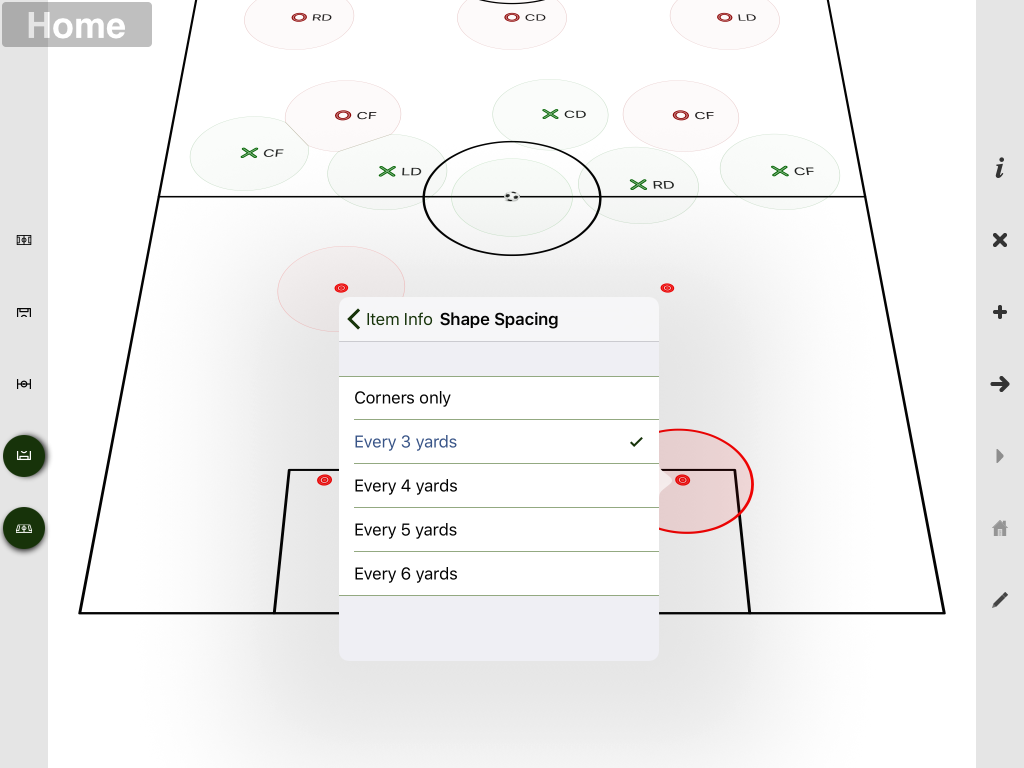
Cones may be placed alog the sides by changing the shape spacing
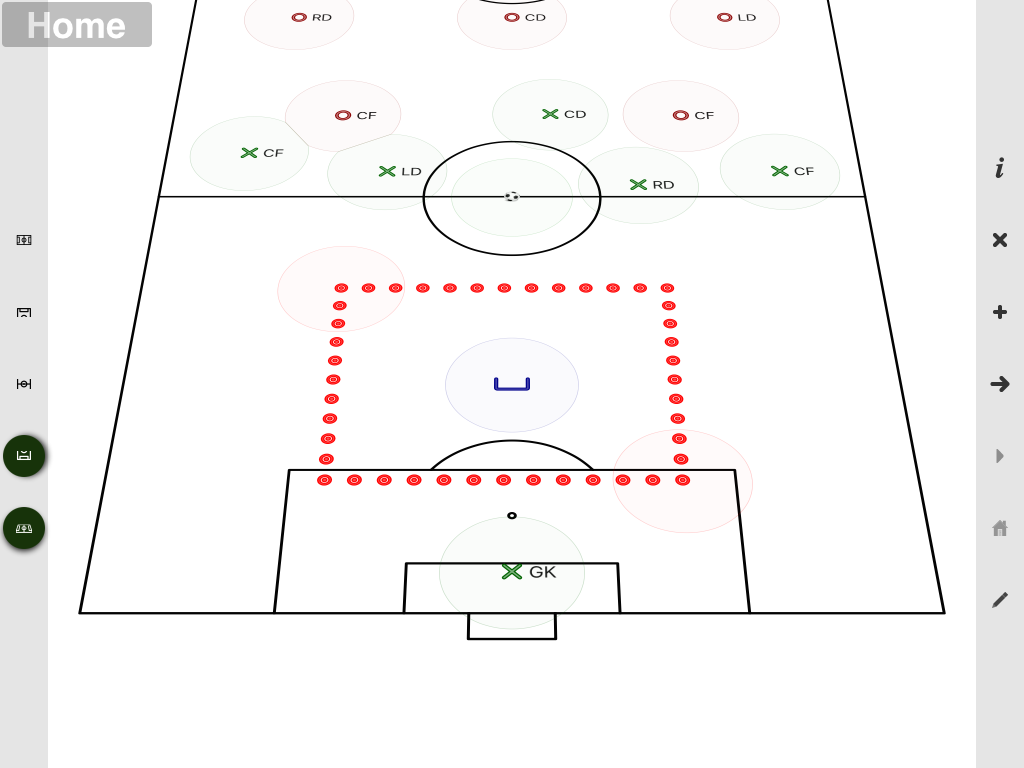
The resulting layout looks like this:
To resize the layout, you just drag either of the special shapes at the corner of the layout:
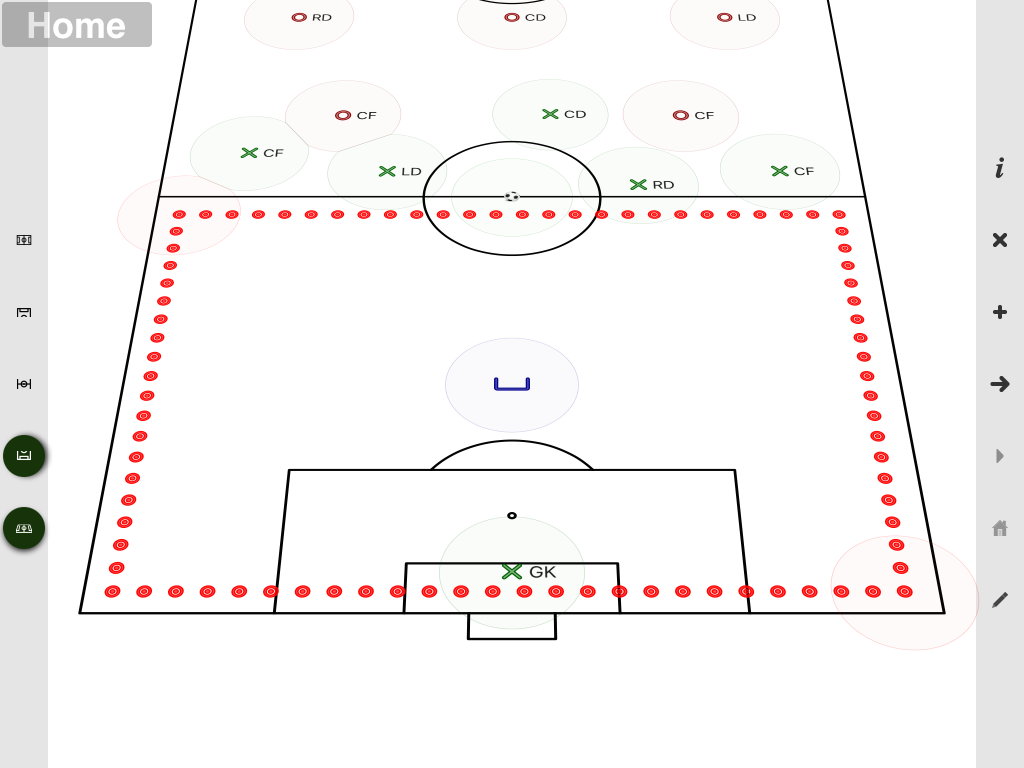
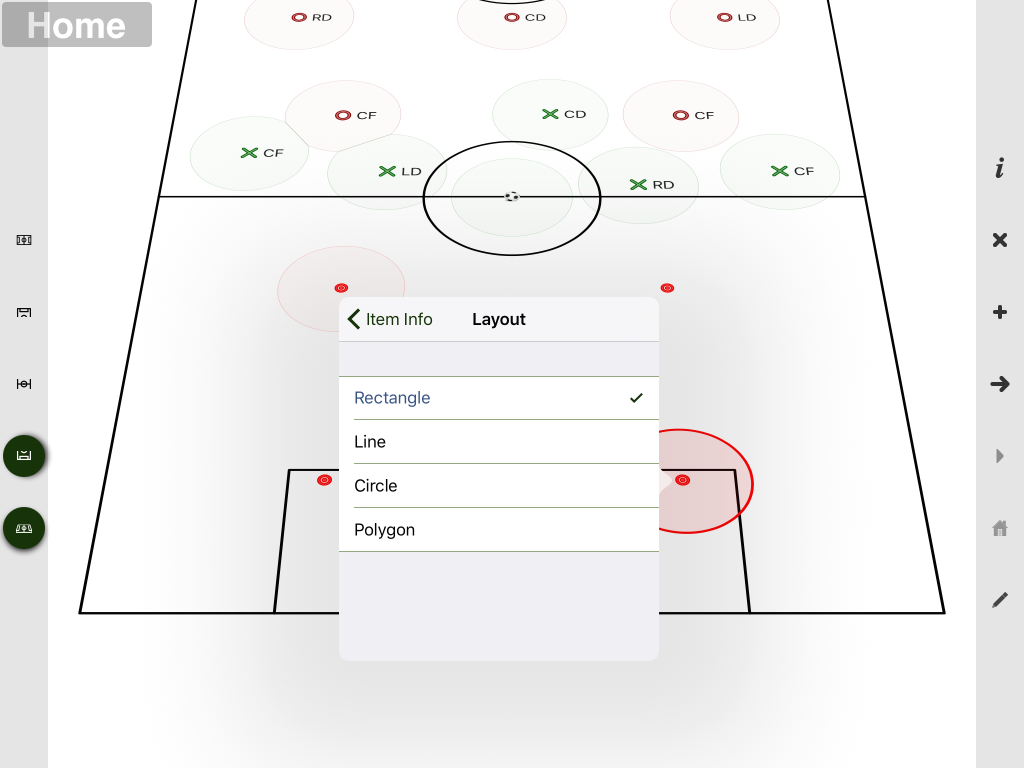
You can also control the shape of the layout
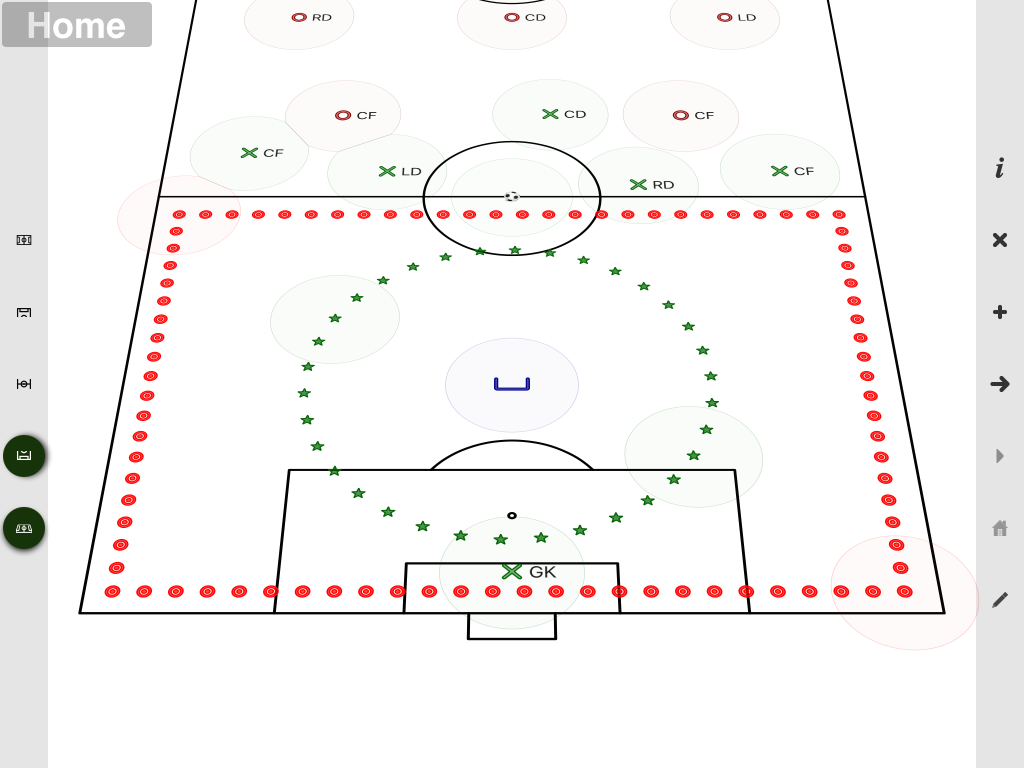
And achieve some interesting effects!
Line fitting
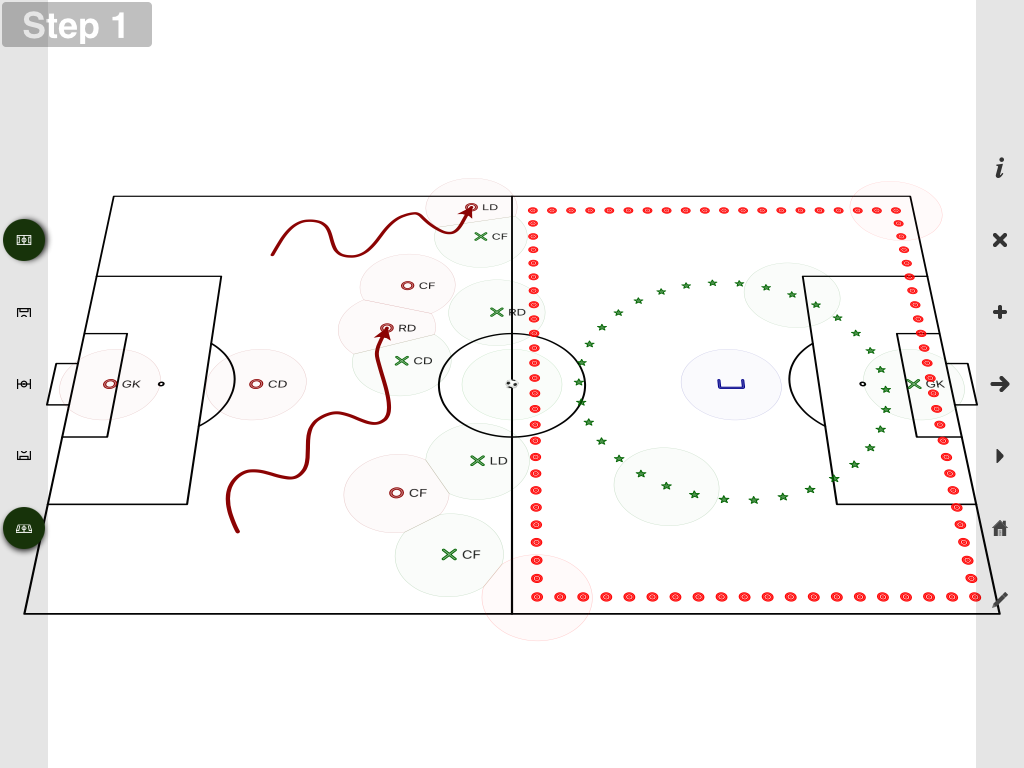
When lines are drawn in the whiteboard, the lines a smoothed to create a more polished end result. The line fitting algorithm is now more sophisticated and allows
more natural paths to be drawn:
